

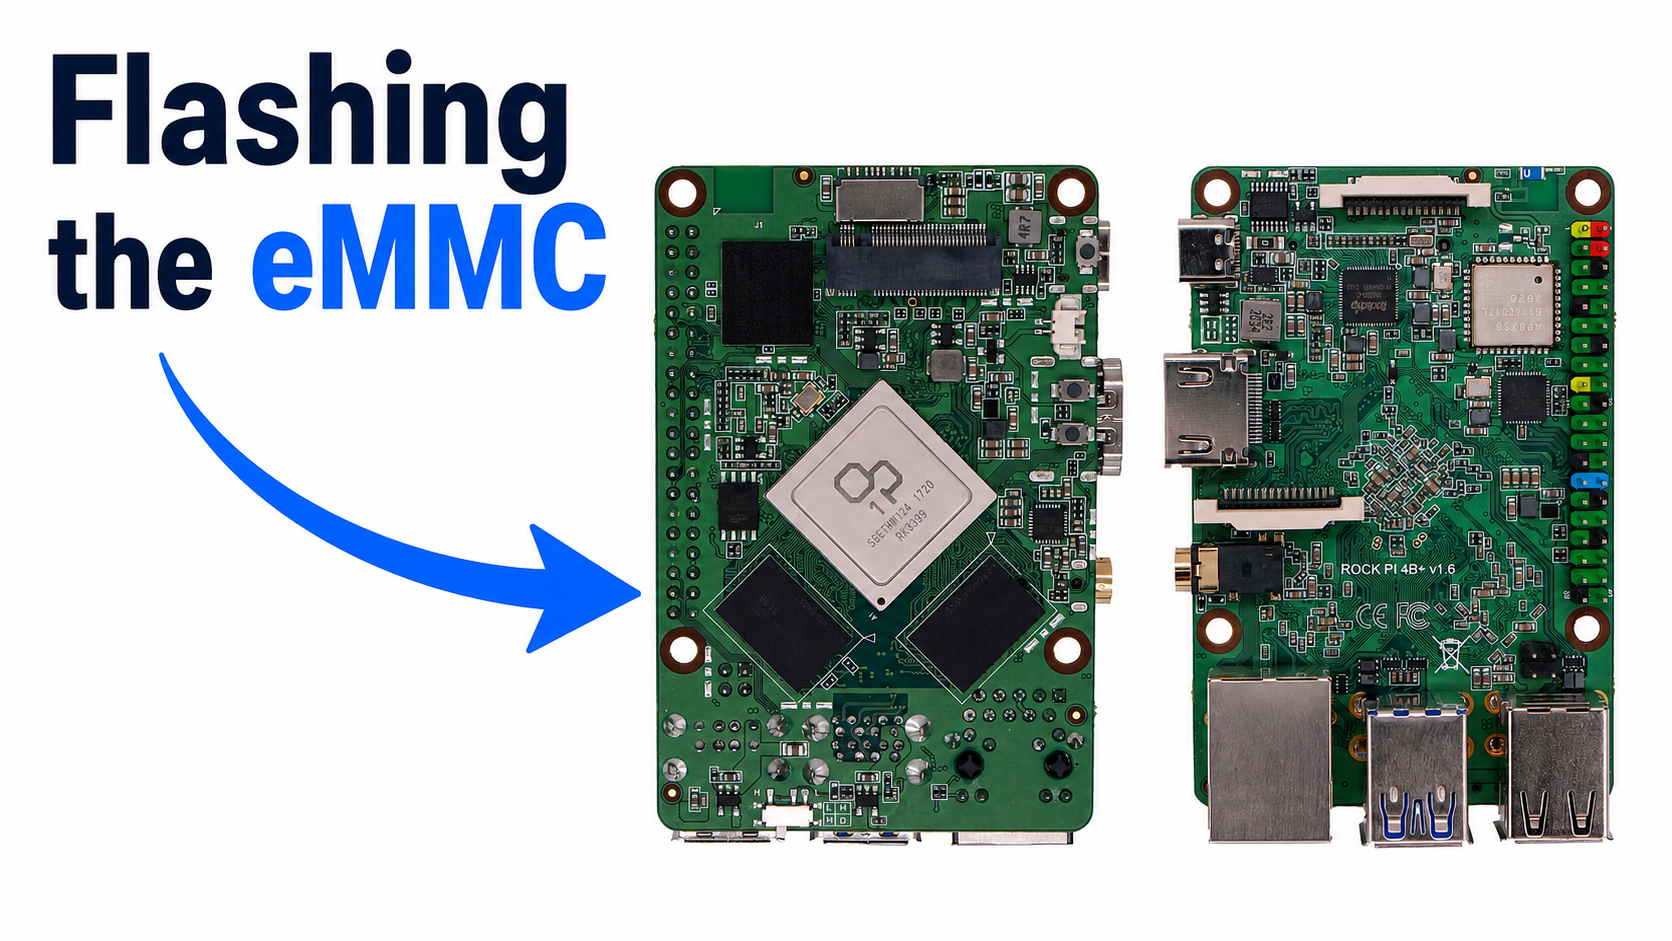
The Rock Pi 4B+ ships with onboard eMMC — 32 or 64 GB of soldered flash that is faster, more durable, and far less corruption-prone than a microSD card. The catch is that you cannot just write to it with Etcher the way you would with an SD card; the eMMC is not exposed to your PC until you put the board into the right mode. Here is the complete, no-frills walkthrough we use in our shop.
What You Need
- A Rock Pi 4B+ with onboard eMMC
- A USB-A to USB-C cable (data-capable, not charge-only — this trips a lot of people up)
- A Linux, Windows, or macOS host PC
- The OS image you want to flash (Debian, Ubuntu, Armbian, etc. — get it from
wiki.radxa.com) - No microSD card inserted during the flash
Method 1: Flash from a Host PC Using rkdeveloptool (Recommended)
This is the cleanest method and the one Radxa officially supports. The Rock Pi 4B+ uses a Rockchip RK3399, and Rockchip ships an open-source tool called rkdeveloptool that talks to the SoC’s built-in maskrom mode over USB.
Step 1 — Put the Rock Pi 4B+ into Maskrom Mode
Maskrom is a bootloader-of-last-resort baked into the RK3399 itself. When the board boots into maskrom, the SoC presents itself to your PC as a USB device that rkdeveloptool can write to directly — bypassing whatever (broken or not) is on the eMMC.
- Disconnect power from the Rock Pi 4B+.
- Remove any microSD card — if a card is present the board will try to boot from it first.
- Find the small maskrom button on the underside of the board, near the eMMC chip. (It is a tiny tact switch labelled
MASKROM.) - Hold the maskrom button down, then connect the USB-C cable from your PC to the Rock Pi’s USB-C power port.
- Keep holding the button for ~3 seconds after plugging in, then release.
The board is now powered from USB and is sitting in maskrom mode. No LEDs will flash — that is normal. If you have a power LED it may be very dim or off.
Step 2 — Verify Your PC Sees It
On Linux, run lsusb and look for:
Bus 001 Device 005: ID 2207:330c Fuzhou Rockchip Electronics CompanyThe 2207:330c vendor/product ID confirms maskrom mode. If you see 2207:330a instead, the board fell into the U-Boot stage — usually because there was a microSD card inserted. Pull it and retry.
On Windows, the device shows up in Device Manager as “Rockusb Device” once you install the Rockchip USB driver (bundled with the official RKDevTool).
Step 3 — Install rkdeveloptool
On Debian/Ubuntu:
sudo apt update
sudo apt install rkdeveloptool
If your distro’s package is too old (older than v1.32), build from source:
sudo apt install build-essential libudev-dev libusb-1.0-0-dev pkg-config git
git clone https://github.com/rockchip-linux/rkdeveloptool
cd rkdeveloptool
autoreconf -i && ./configure && make
sudo cp rkdeveloptool /usr/local/bin/
Step 4 — Download the Bootloader Loader
Before writing the OS image, you need to push a small SPL+TPL loader to the board. Without it, the eMMC is still not exposed for writing.
wget https://dl.radxa.com/rockpi4/images/loader/rk3399_loader_v1.24.126.bin(Filenames change occasionally; check dl.radxa.com/rockpi4/images/loader/ for the current version.)
Step 5 — Write the Loader, Then the Image
# Load the SPL — required before any read/write
sudo rkdeveloptool db rk3399_loader_v1.24.126.bin

# Confirm the board is now in loader mode
sudo rkdeveloptool ld
# Should print: DevNo=1 Vid=0x2207,Pid=0x330c,LocationID=... Mode=Loader

# Write your OS image to the eMMC
sudo rkdeveloptool wl 0 rockpi-4b-debian-bullseye-xfce4-arm64.img

# Reboot the board out of maskrom mode
sudo rkdeveloptool rd
The wl 0 command writes starting at LBA 0 — the very start of the eMMC. The image takes 5–10 minutes for a typical 4 GB Debian image at USB 2.0 speeds.
When rkdeveloptool rd finishes, the board reboots from its freshly flashed eMMC. Unplug the USB-C cable, plug your normal 12 V supply in, and you are running.
Method 2: Use the eMMC-to-USB Adapter
If you have a Radxa eMMC-to-USB adapter and the eMMC on your Rock Pi 4B+ is a socketed module (the 4B+ is soldered, but some earlier 4B units shipped with a socket), you can pop the module off, drop it into the adapter, and flash it from your PC with dd or Etcher like a normal SD card. This is the fastest method when you have the hardware — but it does not apply to the soldered-eMMC 4B+.
Method 3: Boot From microSD, Then Dump to eMMC
This is the “no extra cables” option. Flash your OS image to a microSD card with Etcher, boot the Rock Pi 4B+ off the SD, then copy the running system to the eMMC.
- Flash the OS image to a microSD with
ddor Etcher and boot the Rock Pi 4B+ from it. - Once running, the eMMC appears as
/dev/mmcblk1(the SD card is/dev/mmcblk0when booted from SD on this board — verify withlsblkbefore writing!). - Write the image straight to eMMC:
sudo dd if=rockpi-4b-debian-bullseye-xfce4-arm64.img of=/dev/mmcblk1 bs=4M status=progress conv=fsync - Shut down, remove the microSD, and reboot. The board now boots from eMMC.
This works well but is slower (SD is the bottleneck) and you tie up an SD card to do it. Method 1 is cleaner if you flash boards regularly.
Common Gotchas
“The board doesn’t enter maskrom mode.”
The number-one cause is a charge-only USB-C cable. Try a different cable — a known-good data cable from a phone or laptop charger. The second cause is leaving a microSD card inserted: the bootloader on the SD card runs before maskrom can take over.
“rkdeveloptool says ‘Did not find device’.”
On Linux, add a udev rule so non-root tools can see it (some distros are strict):
echo 'SUBSYSTEM=="usb", ATTR{idVendor}=="2207", MODE="0666"' | sudo tee /etc/udev/rules.d/99-rockchip.rules
sudo udevadm control --reload-rules
Unplug and re-enter maskrom mode after reloading rules.
“Boot hangs after flashing.”
Almost always means you flashed a Pi-style image instead of a Rock Pi image. The Rock Pi 4B+ needs a Rockchip-specific bootloader; generic Raspberry Pi OS images will not boot. Grab images from wiki.radxa.com/Rockpi4/downloads.
“eMMC partition is too small.”
Most Rock Pi images create a small root partition and expect you to expand on first boot. Run sudo /usr/local/sbin/rockpi-resize-fs on Radxa Debian/Ubuntu images, or use parted + resize2fs manually.
Why Bother With eMMC At All?
Compared to a microSD card, the soldered eMMC on the Rock Pi 4B+ is roughly 2–4× faster for random I/O, dramatically more reliable under sustained writes, and immune to the corner-cutting that has made low-end SD cards a running joke for SBC corruption. For anything 24/7 — a NAS controller, a Home Assistant box, a Telegram bot host — eMMC is the right answer.
Once you have done it once, the maskrom flow takes about five minutes start to finish. Worth the muscle memory.